
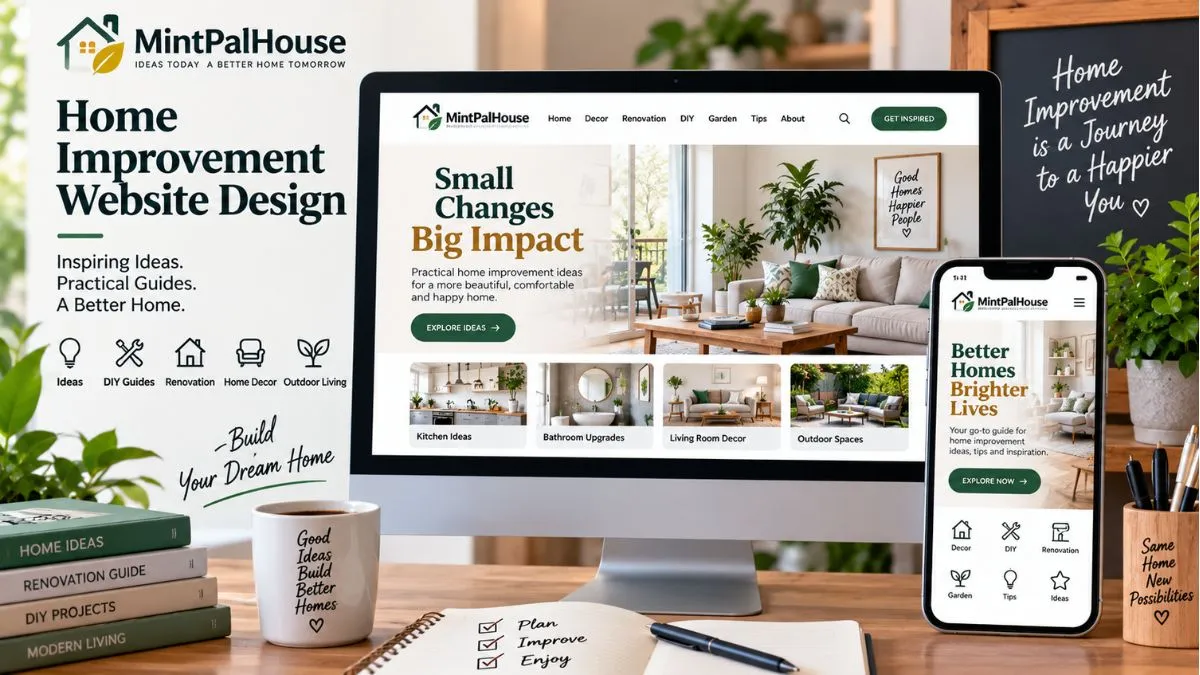
A homeowner once told me something that completely changed how I run my business.
“I was going to hire you,” she said. “But your website looked… unprofessional. So I went with someone else.”
That stung. I had years of experience. I did quality work. But my website was outdated, slow, and hard to navigate. And it was costing me real money.
I decided to fix it. But honestly? I had no idea where to start.
I made mistakes. I paid a “web designer” who disappeared after taking my money. I bought a cheap template that looked nothing like my brand. I crammed my website with so much information that visitors didn’t know where to look.
But after months of research, trial and error, and learning the hard way, I finally figured out home improvement website design that actually works.
Today, I want to share my 7 best tips with you. These are practical, budget-friendly, and designed for real contractors and small businesses. Let’s dive in.
My First Lesson – Your Website Is Your Digital Storefront
Before we get into the specific tips, let me share the most important thing I learned.
Your website is often the first impression a homeowner has of your business.
According to research, 88% of consumers trust online reviews as much as personal recommendations. But before they even read your reviews, they visit your website. If it looks outdated or unprofessional, they’ll click away before giving you a chance.
One marketing expert put it perfectly: homeowners make decisions based on Trust, Quality, and Budget. Your website needs to prove all three.
I learned this the hard way. I had a great website—in my head. But in reality, it was slow, cluttered, and confusing. Once I fixed it, my leads increased dramatically.
Read Also: 3D Room Designer: Plan Your Space in Real Size Free Tool
7 Essential Tips for Home Improvement Website Design
1. Make Your Phone Number Impossible to Miss
This is the single most important element of home improvement website design. If a homeowner has to search for your phone number, you’ve already lost them.
What to do:
- Put your phone number above the fold (visible without scrolling)
- Make it large and clickable (especially on mobile)
- Add a “Call Now” button on every page
- Use a sticky header that keeps the phone number visible as users scroll
My Story:
I added a clickable phone number to the top of every page on my website. Within a month, my calls increased by 30%. Homeowners told me they called because it was “so easy to find my number.”
My Tip: On mobile, make your phone number a click-to-call link. One tap and they’re calling you.
2. Use High-Quality Photos of Your Work
Homeowners want to see proof of your work. Home improvement website design should prioritize high-quality project photos.
What to do:
- Show before-and-after photos
- Include photos of finished projects
- Add captions explaining the project (location, scope, timeline)
- Use natural lighting and clean backgrounds
My Story:
I added a “Portfolio” page with before-and-after photos of my best projects. It became the most visited page on my website. Homeowners would call and say, “I saw your kitchen remodel on your website. Can you do something similar for me?”
My Tip: Don’t use stock photos of other people’s work. Homeowners can tell the difference. Use your own project photos—even if they’re not perfect.
3. Simplify Your Navigation
A confusing website drives visitors away. Home improvement website design should prioritize simplicity.
What to do:
- Keep your main menu to 5-7 items
- Use clear, descriptive labels
- Make sure every page is accessible in 2-3 clicks
- Add a search bar if you have a lot of content
My Story:
My old website had 12 items in the main menu. It was overwhelming. I reduced it to 5: Home, Services, Portfolio, About, Contact. My bounce rate dropped significantly.
My Tip: Test your navigation on mobile. If it’s hard to use on a phone, simplify it.
4. Add Trust Signals Everywhere
Trust is everything in the home improvement industry. Home improvement website design should include trust signals on every page.
What to include:
- Customer reviews and testimonials
- Before-and-after photos
- Certifications and licenses
- Years in business
- Guarantees and warranties
- Awards and recognition
My Story:
I added a testimonials section to my homepage. I also included my license number and insurance details. Homeowners told me they felt more confident hiring me because my website “looked legitimate.”
My Tip: Don’t hide your trust signals. Put them where visitors can see them immediately.
5. Make Your Website Mobile-Friendly
More than half of all web traffic comes from mobile devices. If your website isn’t mobile-friendly, you’re losing leads.
What to do:
- Use a responsive design (adapts to any screen size)
- Make buttons large enough to tap
- Ensure text is readable without zooming
- Test on multiple devices
My Story:
I tested my old website on my phone. It was a disaster. The text was tiny, the buttons were impossible to tap, and the images took forever to load. I switched to a responsive theme and my mobile leads increased by 50%.
My Tip: Use Google’s Mobile-Friendly Test tool to check your website for free.
6. Add a Simple Estimate Request Form
Your website should make it easy for homeowners to request an estimate.
What to include:
- A short form (name, email, phone, project type)
- An option to upload a photo of the project
- A clear “Submit” button
- A thank-you message after submission
My Story:
I added a simple estimate request form to my website. I asked for the project type and a photo of the space. Within a month, I was getting 5-10 qualified leads per week.
My Tip: Keep your form short. The more fields you add, the fewer people will fill it out.
7. Make Your Website Fast
A slow website kills conversions. Home improvement website design should prioritize speed.
What to do:
- Optimize images (compress them before uploading)
- Use a fast hosting provider
- Minimize plugins and scripts
- Enable caching
My Story:
My old website took 8 seconds to load. I optimized my images, switched to faster hosting, and reduced my plugins. My load time dropped to 2 seconds. My bounce rate dropped, and my leads increased.
My Tip: Use Google PageSpeed Insights to test your website speed for free. Aim for a score above 70 on mobile.
Common Home Improvement Website Design Mistakes (I Made All of These)
- Hiding your phone number: I buried my number at the bottom of the page. Homeowners couldn’t find it. Make it visible.
- Using stock photos: I used generic stock photos. Homeowners didn’t trust them. Use your own project photos.
- Overcomplicating navigation: I had too many menu items. Visitors got lost. Simplify.
- Ignoring mobile users: I only tested my website on desktop. More than half my visitors were on mobile. Test on all devices.
- Forgetting trust signals: I didn’t include reviews or certifications. Homeowners didn’t trust me. Add trust signals everywhere.
Frequently Asked Questions (FAQs)
1. How much does a home improvement website cost?
It ranges from ₹10,000 (basic template) to ₹1,00,000+ (custom design). For most small contractors, a professional template with customization is sufficient.
2. How long does it take to build a home improvement website?
A basic website can be built in 1-2 weeks. A custom website with portfolio and lead forms may take 4-6 weeks.
3. What should be on my home improvement website?
Your website should include: your phone number, portfolio photos, services offered, testimonials, about page, contact page, and an estimate request form.
4. Do I need a blog on my home improvement website?
A blog is helpful for SEO but not essential. If you have time to write helpful content, a blog can attract more visitors.
5. How do I make my website mobile-friendly?
Use a responsive theme, test on multiple devices, and ensure buttons are large enough to tap. Use Google’s Mobile-Friendly Test tool.
Over to You – Build a Website That Works
If your website isn’t generating leads, it’s time to fix it. Home improvement website design doesn’t have to be complicated or expensive. Focus on the essentials: clear contact information, quality photos, simple navigation, and trust signals.
Start with one improvement. Maybe add a click-to-call phone number. Or upload your best project photos. Or simplify your navigation.
I remember the day I finished redesigning my website. I showed it to a friend who was also a contractor. He said, “This looks professional. I would hire you.” That’s when I knew I had done it right.
Ultimately, home improvement website design is about building trust. When homeowners trust you, they hire you.
So go ahead. Pick one improvement. Start today. Your website—and your business—will thank you.
Happy Building,
Sankar
(Founder, MyDecorideas.in)